Chapter 3: Notes and Tasks
In this chapter, you will learn how to:
- keep handy notes and lists
- manage tasks and to-dos
Keeping Notes
Google Keep is a convenient little app for your computer and mobile devices that gives you an unending supply of sticky notes. Use it to keep notes and checklists at your fingertips.
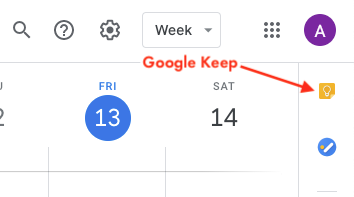
To open Google Keep
From your Gmail or Google Calendar in a browser on your computer, click the tiny Keep button in the narrow sidebar on the right.
To create notes
- In the Google Keep pane, click Take a note....
- Click on Title and type a title for the note.
- Click in the body of the note and type.
- Click Done.
To create checklists
- In the Google Keep pane, click the New list button.
- Click on Title and type a title for the list.
- Click on List item and type the first entry of the list.
- Press Enter/Return to add the next list item.
- After typing the last list item, click Done.
To mark a list item as complete, click the empty checkbox to its left.
Notes and checklists appear in chronological order newest down to oldest in the Keep pane. You can pin a note or list to make it stay at the top of the Keep pane; just point to the note, then click the Pin Note button that appears in its top right corner.
To edit a note or list, simply click the note or list, make your changes and click Done. To archive or delete a note or list, click the three vertical dots button (Menu) and choose Archive or Delete.
To hide the Keep pane, click its Close button.
Tasks and To-Dos
In the last chapter, you learned that you could place tasks and reminders on your calendar, just like events. But what if a task does not have a due date or time associated with it. The Tasks pane lets you enter to-dos items. If dated, they will appear on your calendar. All tasks, dated or not, appear in your Tasks pane.
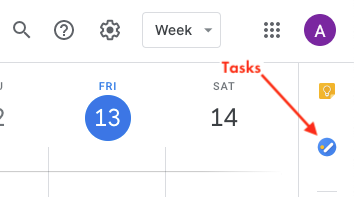
To use Tasks
From your Gmail or Google Calendar in a browser on your computer, click the tiny Tasks button in the narrow sidebar on the right.
To add tasks
- In the Tasks pane, click Add a task.
- Type the task.
- Press Enter/Return to add another task.
- To specify more details for a task, including a due date and/or time, click the Edit button (pencil icon) that appears when you point to the task, and then enter the additional details. When done, click the Back button in the top left corner of the Tasks pane.
To mark a task as complete, click the round empty button to its left.
To delete a task, click its Edit button and then click the Delete button (trash can icon).